If you’re a pastry enthusiast, chances are you’ve already heard of tempering. And if you work with Valrhona chocolate, you may have noticed the temperature curves printed on the back of our chocolate bags.Today, we’re breaking down everything you need to know about this technical yet essential step when working with chocolate.
Keep reading to learn all about chocolate tempering and how to master it!
Table of contents
Why Is Chocolate Tempering an Essential Step? When Should You Temper Chocolate? For Which Recipes and Applications? Getting Ready to Temper Chocolate Step-by-Step: How to Temper Chocolate Like a Pro Tempering Chocolate: A-to-Z Steps for Pastry Enthusiasts Can You Temper Chocolate Without a Thermometer? What Are the Most Common Mistakes to Avoid when Tempering Chocolate? Going Further: A Story of Crystallization Ready to Put Your Knowledge Into Practice?Explore our molds to create the chocolate pieces of your dreams. For that, you’ll need some chocolate…
Why Is Chocolate Tempering an Essential Step?
What Is the Purpose of Tempering Chocolate?
Tempering is a process that allows chocolate to express its full potential in terms of texture and flavor.
What exactly are we talking about? A glossy finish, that satisfying snap, a chocolate that melts beautifully in the mouth, but not in your hands, and a well-balanced expression of flavor.
What happens if you skip tempering?
- A dull appearance
- A grainy texture
- A whitish or streaky color (due to fat bloom)
- A chocolate that melts quickly when handled
Tempering is therefore the key to achieving a shiny, smooth, crisp result that holds its shape when touched.

When Should You Temper Chocolate? For Which Recipes and Applications?
Tempering is essential when creating a piece made entirely of chocolate. This includes chocolate decorations, Easter or holiday molds, chocolate bars, bonbons, or decorative elements for entremets.
However, if the chocolate is being mixed with another ingredient, tempering is not necessary.
For example, there’s no need to temper chocolate when making ganaches, crémeux, or glazes.
Getting Ready to Temper Chocolate
What’s the Difference Between Melting and Tempering Chocolate?
It’s important to make this distinction. Melting chocolate simply means bringing it to a liquid state. Tempering involves melting the chocolate and then carefully controlling its temperature as it cools back down.
What Temperatures Are Needed to Work with Chocolate and Achieve a Shiny Finish?
When tempering chocolate, it goes through three distinct temperature phases:
Melting temperature
Pre-crystallization temperature
Working temperature
Once the working temperature is reached, crystallization can begin, this is when the chocolate reveals its optimal texture and flavor.
Is the Technique the Same for Dark, Milk, Dulcey Blond, White, and Valrhona Inspiration Chocolates?
The overall technique is the same, but the three temperature points differ. That’s because each chocolate has a unique composition. The tempering curves vary depending on the percentage of cocoa butter and dry matter.
What Is a Tempering Curve or Tempering Chart?
A tempering curve shows the three temperature ranges required to temper your chocolate properly. You’ll find it printed on the back of Valrhona chocolate packs. Each reference has its own specific curve. It’s an essential tool to master this technique.
Why Use a Couverture Chocolate?
Because it’s rich in cocoa butter, making it more fluid and easier to work with. To qualify as couverture, a chocolate must contain at least 31% cocoa butter.
What Equipment Do You Need?
A thermometer. Without it, tempering is simply not possible! According to Mehdi, a laser thermometer is best. Probe thermometers come with several drawbacks: if the metal probe is cold, it can distort the reading. As you repeatedly insert and remove the probe, chocolate may crystallize around it, affecting accuracy. It also tends to make more of a mess.
A spatula or rubber scraper (maryse). Essential for mixing thoroughly and ensuring an even temperature.
A mixing bowl (cul-de-poule) or other suitable container.
A hair dryer or heat gun.
A double boiler or microwave.
If making molds or bars: Spotlessly clean molds. Tip: wipe them with white vinegar to avoid leaving marks on your finished chocolate pieces.
Patience and resilience. Your first tempering attempt may not be perfect—and that’s okay!
Step-by-Step: How to Temper Chocolate Like a Pro
Tempering Chocolate: What Are the Different Methods?
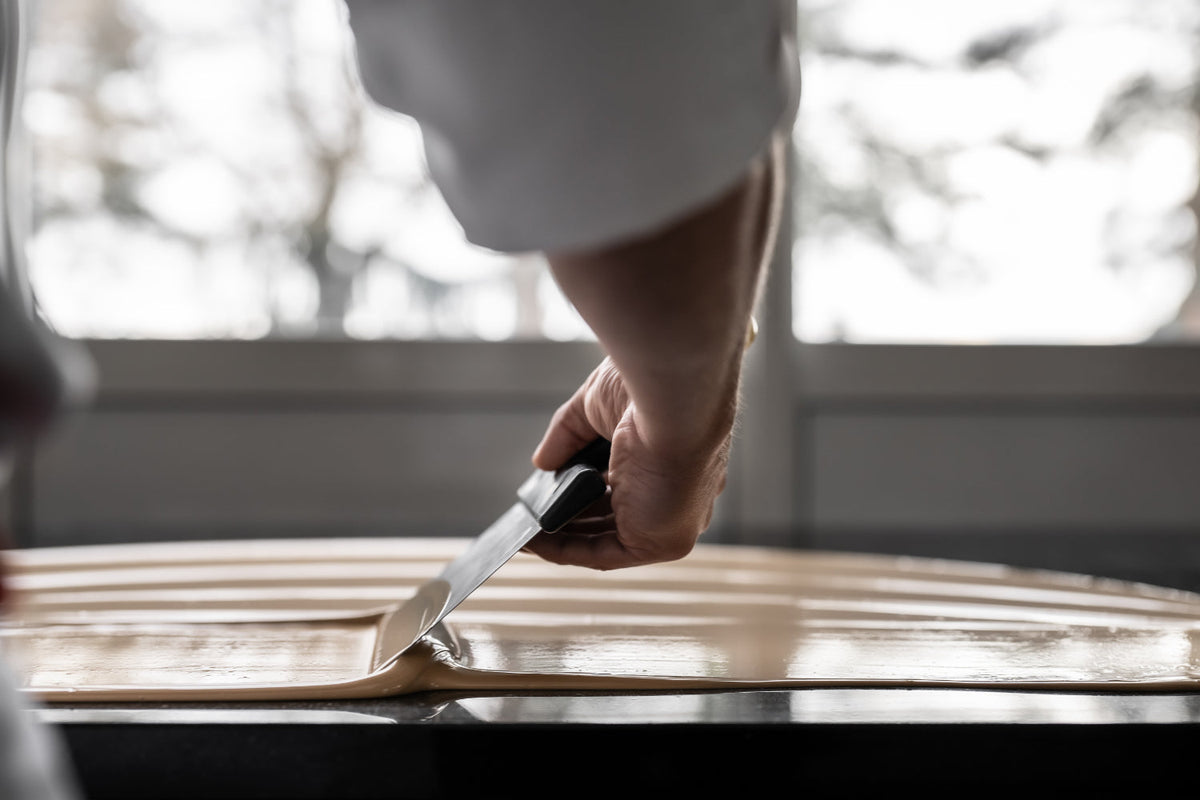
The Professional Method: Tablage (Slab Tempering)
You might picture chefs working large quantities of melted chocolate on marble countertops. Chances are, you don’t have a marble work surface at home, and using this method could easily turn into a chocolate-covered kitchen disaster (which we’d rather help you avoid).
The Seeding Method (Also Known as the Vaccination Method)
This is the method we recommend for your chocolate creations at home. It involves melting your Valrhona fèves, then adding unmelted fèves into the bowl. This helps bring the chocolate down to its pre-crystallization temperature more quickly and efficiently.

Tempering Chocolate: A-to-Z Steps for Pastry Enthusiasts
Step 1
Start with 400g (14.1 oz) of Valrhona fèves. Set aside 100g (3.5 oz).
Note: For the seeding method, you’ll need at least 300g (14.1 oz) of chocolate. A certain volume is required to maintain thermal inertia, otherwise temperature changes happen too quickly and become difficult to control.
Step 2
Melt the 300g (14.1 oz) using a double boiler or a microwave.
In the microwave, proceed slowly in 10-second increments. Never add water.
If using a double boiler, be mindful of steam. If your kitchen is cold, condensation can form and drip into your mixing bowl. That would ruin your tempering.
Each type of chocolate has a different melting temperature:
Dark chocolate: 122°F to 131°F (50°C to 55°C)
Milk chocolate: 113°F to 122°F (45°C to 50°C)
White and Dulcey chocolate: 113°F to 122°F (45°C to 50°C)
Inspiration range: 104°F to 113°F (40°C to 45°C)
Step 3
Now, use the 100g (3.5 oz) of fèves you set aside. The goal here is to lower the temperature by adding solid chocolate.
If you add whole fèves, the mixture may cool too quickly.
Step 4
Gradually add the chopped fèves to the melted chocolate, stirring constantly and checking the temperature. Go slowly, adding one tablespoon at a time.
Step 5
Continue until the chocolate reaches its pre-crystallization temperature. The chocolate will remain fluid but begin to thicken slightly. This is when crystallization begins.
Once again, the pre-crystallization temperature depends on the type of chocolate:
Dark: 82°F to 84°F (28°C to 29°C)
Milk: 81°F to 82°F (27°C to 28°C)
White and Dulcey: 79°F to 81°F (26°C to 27°C)
Inspiration: 81°F to 82°F (27°C to 28°C)
At this point, all the chocolate must be completely melted. There should be no solid pieces left.
Step 6
Reheat the chocolate gently one last time to raise it by about 2°C, bringing it to its working temperature . This final temperature also depends on the type of chocolate:
Dark: 88°F to 90°F (31°C to 32°C)
Milk: 84°F to 86°F (29°C to 30°C)
White and Dulcey: 82°F to 84°F (28°C to 29°C)
Inspiration: 86°F to 88°F (30°C to 31°C)
Important: If you're using a double boiler with a stainless steel bowl, be cautious. Metal retains heat and may continue warming the chocolate even after it’s removed from the water. You can also use a hair dryer instead. Hold it at a safe distance from the bowl and stir constantly to ensure even temperature.
Step 7
You've reached the working temperature? Congratulations, you can now begin making decorations or molding bars and eggs.
It is crucial to maintain this temperature.
To allow your creations to crystallize, leave them at room temperature. There is no need to cover them. For thin molds, you can refrigerate them for a maximum of 10 minutes. Make sure your fridge is free of odors and humidity.
If you're making a multi-layered mold, let the first layer begin to crystallize, but not fully, before pouring the second. Wait until the chocolate looks slightly matte, then move on to the next layer.
How Can You Tell If Your Chocolate Is Properly Tempered?
Before you begin making your decorations or molded pieces, you may want to check whether your tempering was successful. Here’s a simple test you can perform.
Cut a small strip of parchment paper and dip it into the chocolate at working temperature. Lay it on a wooden or plastic board, chocolate side facing up. If the chocolate hasn’t crystallized after 3 minutes, or if it solidifies with white streaks, your tempering wasn’t successful and you’ll need to start over.
Another key moment is unmolding. A well-tempered chocolate will release easily from the mold and show no white marks.

Can You Temper Chocolate Without a Thermometer?
Unfortunately, a thermometer is essential for tempering chocolate. This technique requires the chocolate to pass through specific temperature ranges.
No thermometer, no tempering.
What Are the Most Common Mistakes to Avoid when Tempering Chocolate?
- Adding water. If water gets into your chocolate, don’t throw it away! While it can no longer be tempered, it can still be used in ganache or other preparations.
Assuming precision doesn’t matter. Temperatures must be respected carefully. A difference of just a few degrees can significantly impact the final result.
Rushing the process. Be patient and take your time.
Trying to jump directly to the working temperature. Each phase must be followed in order.
Forgetting about heat retention when reheating over a double boiler. Stainless steel bowls retain heat and can continue raising the chocolate’s temperature even after being removed from the water.
Working with too little chocolate. Always start with at least 300g (10.6 oz) . You need enough mass to create thermal inertia. With smaller quantities, temperature changes occur too quickly and are harder to control. Don’t worry about using too much chocolate—it can always be re-tempered later.
Pouring too thin a layer into a mold. Thin chocolate shells are more likely to crack. It’s better to build up your molds in multiple layers. Let the first layer start to set and look slightly dull before adding the next.
Overheating beyond the melting temperature. This burns the chocolate, and the sugar inside begins to caramelize. White and blond chocolates contain milk powder, which burns very quickly. Once chocolate is burnt, unfortunately, it cannot be recovered.

Going Further: A Story of Crystallization
When chocolate is properly tempered, its cocoa butter crystals are organized in a stable, uniform structure. To use chocolate in any form other than its original fèves, it must first be melted. However, melting disrupts that structure and breaks down the crystals. If the chocolate is then cooled without tempering, it will become brittle and dull, because its structure will be unstable.
Tempering reorganizes the cocoa butter crystals to restore a strong, consistent crystalline structure.
More specifically, it’s the beta crystals in chocolate that are responsible for its shine and that satisfying snap. When chocolate reaches the lowest temperature point in the tempering curve, it isn’t hard yet, but a few beta crystals have begun to form. Once those crystals appear, crystallization accelerates, much like frost spreading across a windowpane.